How to Design Your First Branded Business Website
-
by
admin
Building a branded business website is an exciting first step toward establishing your digital identity. Whether you’re a budding entrepreneur, freelancer, or small business owner, having a professional online presence has never been more important. Your website is your virtual storefront, a platform that communicates who you are, what you do, and why people should trust and engage with you.
If you’re new to web design, don’t worry—this guide will lead you through the process in simple, manageable steps. With today’s tools and technology, anyone can create an amazing website that reflects their brand and helps grow their business. Let’s dive into how you can design your first branded business website and set yourself up for success online.
Why Your Website Is Your Most Valuable Asset
Before we get into the “how,” let’s address the “why.” Your website isn’t just a place to display your products or services—it’s a 24/7 representative of your brand. It’s often the first interaction potential customers have with your business, and as the saying goes, first impressions matter.
Here’s why your website is essential:
- Credibility: A professional website builds trust with your audience.
- Brand Identity: It reflects your brand’s voice, style, and personality.
- Sales Tool: Your website acts as a powerful tool to convert visitors into customers.
- Marketing Hub: It syncs effortlessly with your email campaigns, social platforms, and other digital marketing efforts.
In short, your website is more than just an online presence—it’s a core part of your business strategy.
Step 1: Clarify Your Brand Identity
To start designing, take some time to define your brand. Your website is a reflection of your business, so it should communicate your message clearly and consistently.
Here are some key questions to ask:
- Who is your target audience? Understanding your ideal customer will help you design a site that appeals to their tastes and needs.
- What is the distinct value your product or service brings? What makes your business different from competitors? Highlight this on your website.
- What’s your brand personality? Are you fun and approachable or sleek and professional? Your website’s colors, fonts, and imagery should align with this personality.
Write these elements down—they’ll serve as your guide throughout the design process.
Step 2: Pick the Right Website Builder
You don’t need to be a tech guru to create a beautiful website. Website builders like Wix, Squarespace, and WordPress make the process straightforward, even for beginners.
Here’s a quick comparison to help you choose:
- Wix: Ideal for drag-and-drop simplicity with lots of design flexibility.
- Squarespace: Perfect for clean, modern designs with an emphasis on aesthetics.
- WordPress: Great for scalability and customization, though it may have a steeper learning curve.
Pick the platform that aligns with your technical skills, budget, and future growth plans. Most of these builders offer free trials, so you can test them out before committing.
Step 3: Secure Your Domain Name and Hosting
Your domain name is the address people will use to find your website (e.g., www.yourbusinessname.com). It should be simple, memorable, and closely related to your brand name.
Here are some tips for choosing a domain name:
- Keep it short and easy to spell.
- Avoid numbers, hyphens, or overly complex words.
- Use a top-level domain (e.g., .com, .net) that suits your business.
Once you’ve chosen a domain, you’ll need hosting—a service that makes your website accessible on the internet. Many website builders offer built-in hosting, simplifying the process. Alternatively, you can use hosting services like Bluehost or SiteGround.
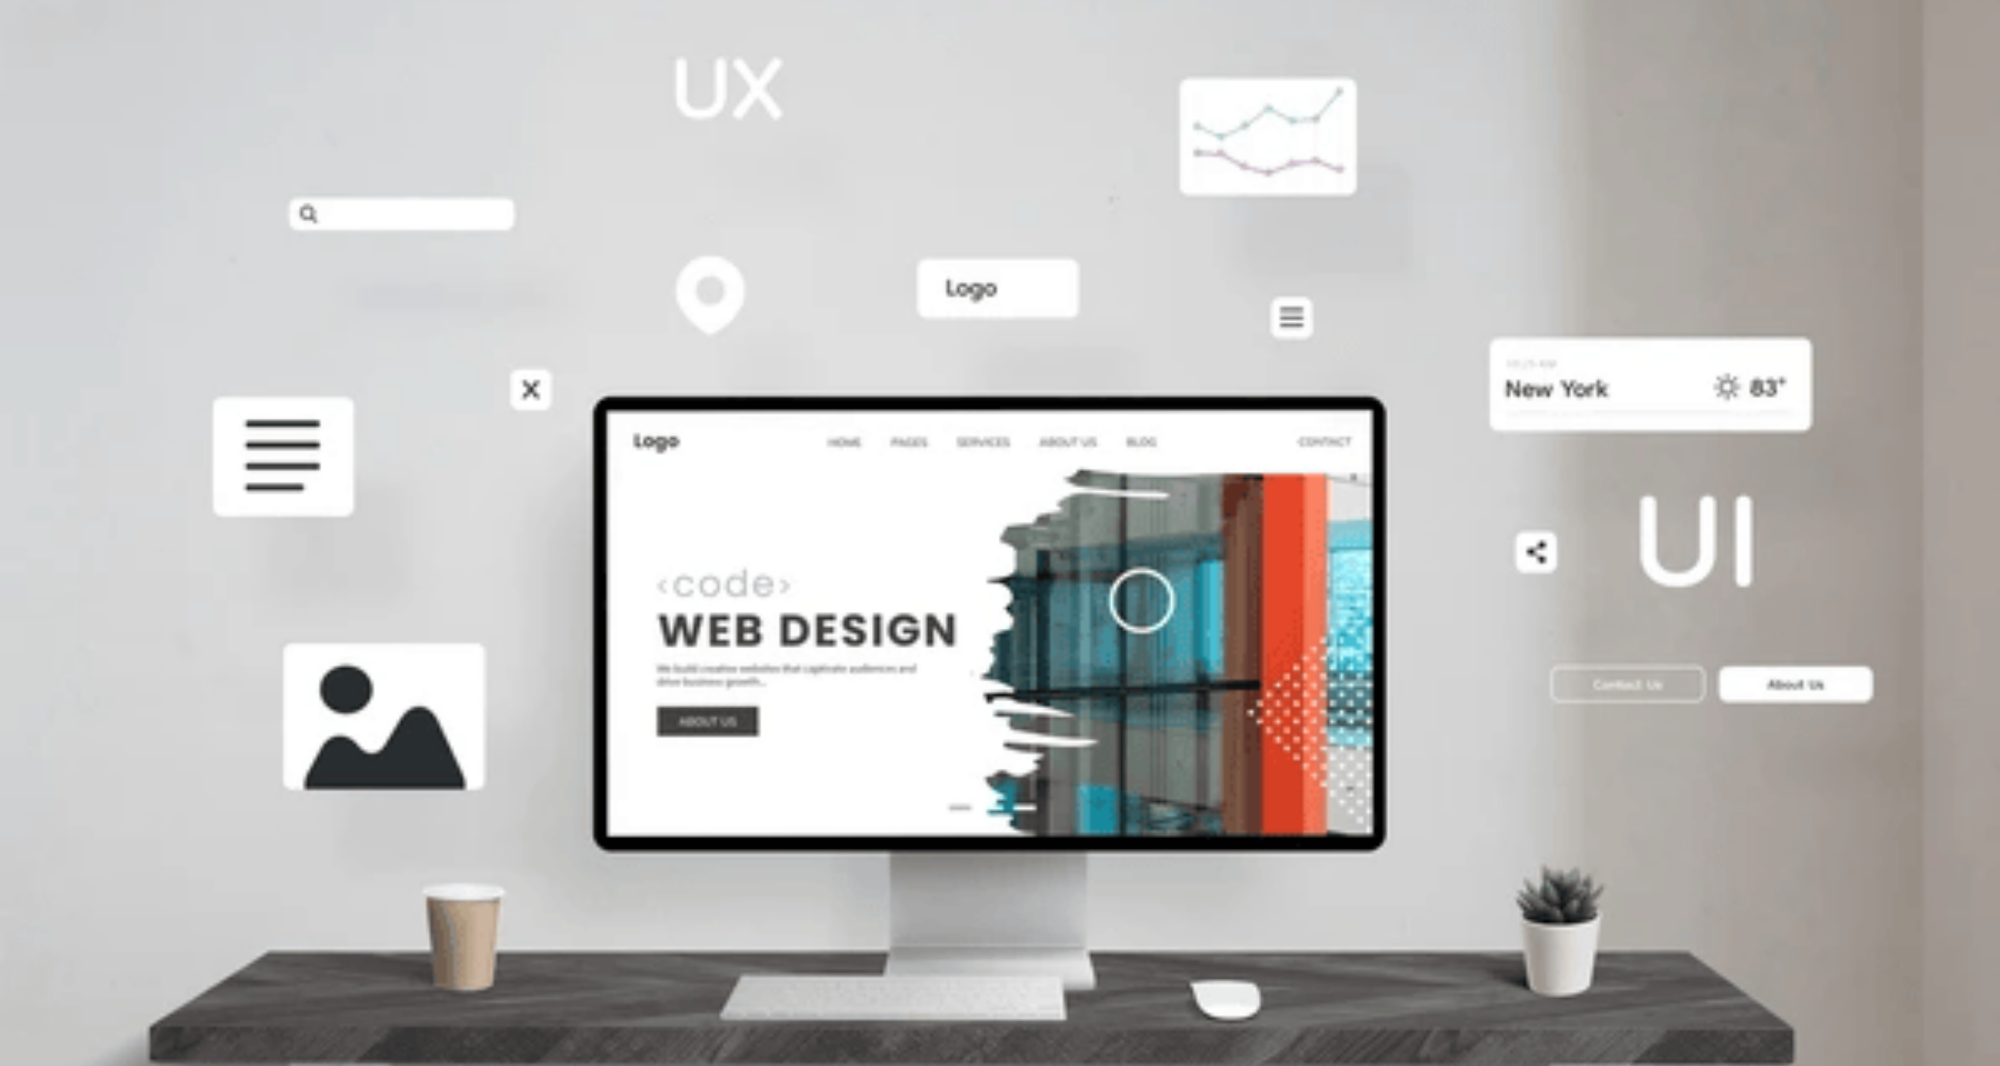
Step 4: Choose a Template or Theme
A website template or theme acts as the foundation for your design. Most website builders provide professionally designed templates tailored to various industries.
When selecting a template, keep these considerations in mind:
- Mobile Responsiveness: Over 50% of web traffic comes from mobile devices, so your site must look great on smartphones and tablets.
- Ease of Navigation: Choose a layout that makes it easy for visitors to find the information they need.
- Customizability: Look for a template that allows you to tweak colors, fonts, and layouts to fit your brand.
Remember, your template is just a starting point. You can customize it as much or as little as you’d like.
Step 5: Create Compelling Content
The design of your website is important, but content is what truly engages your audience. Focus on creating clear, persuasive, and action-oriented content for your pages.
Here are some key pages to include:
- Homepage: Introduce your brand, highlight your unique value, and include a strong call-to-action (e.g., “Get Started Today”).
- About Page: Share your story and mission to connect with your audience on a personal level.
- Services/Products Page: Provide detailed descriptions of what you offer, along with pricing or contact options.
- Contact Page: Provide easy access for visitors to reach you with a contact form, email, and social media links.
Avoid overwhelming visitors with too much text. Use headings, bullet points, and visuals to break up your content and keep it engaging.
Step 6: Add Visual Elements That Reflect Your Brand
High-quality visuals can make or break your website. Invest in professional photography or use free stock image resources like Unsplash or Pexels to enhance your site.
When adding images and videos:
- Optimize them for fast loading speeds.
- Use consistent colors and styles that align with your brand.
- Include alt text descriptions for better accessibility and SEO.
Custom visuals, like branded graphics or product shots, can take your website to the next level.
Step 7: Optimize for User Experience (UX)
User experience is all about making your website easy and enjoyable to navigate. Here are some UX best practices:
- Simplify Navigation: Use a clear menu structure with no more than 5–7 main categories.
- Make It Fast: Optimize images and eliminate unnecessary plugins to improve load times.
- Use Clear CTAs: Buttons like “Shop Now,” “Contact Us,” or “Learn More” should be easy to spot.
Think about your website from the visitor’s perspective. Is it easy to find what they’re looking for? Are the pages visually appealing and uncluttered?
Step 8: Test and Launch Your Website
Before your website goes live, test it thoroughly to ensure everything works as intended. Here’s a quick checklist:
- Test all links, buttons, and forms.
- View your website on different devices and browsers.
- Double-check for spelling and grammar errors.
Once you’re satisfied, hit “Publish” and share your site with the world. Promote it on social media, email lists, and any other channels available to you.
Step 9: Maintain and Update Your Website
A website isn’t a one-and-done project. To keep your site relevant and effective, you’ll need to update it regularly. Add fresh content, update outdated information, and keep an eye on your analytics to see what’s working and what’s not.
Conclusion
Designing your first branded business website may seem challenging at first, but with the right approach, it’s an empowering and rewarding process. Your website will serve as a cornerstone of your business, helping you connect with customers, showcase your brand, and achieve your goals.
By taking these steps, you’ll create a professional website that reflects your unique identity and positions you for success.